
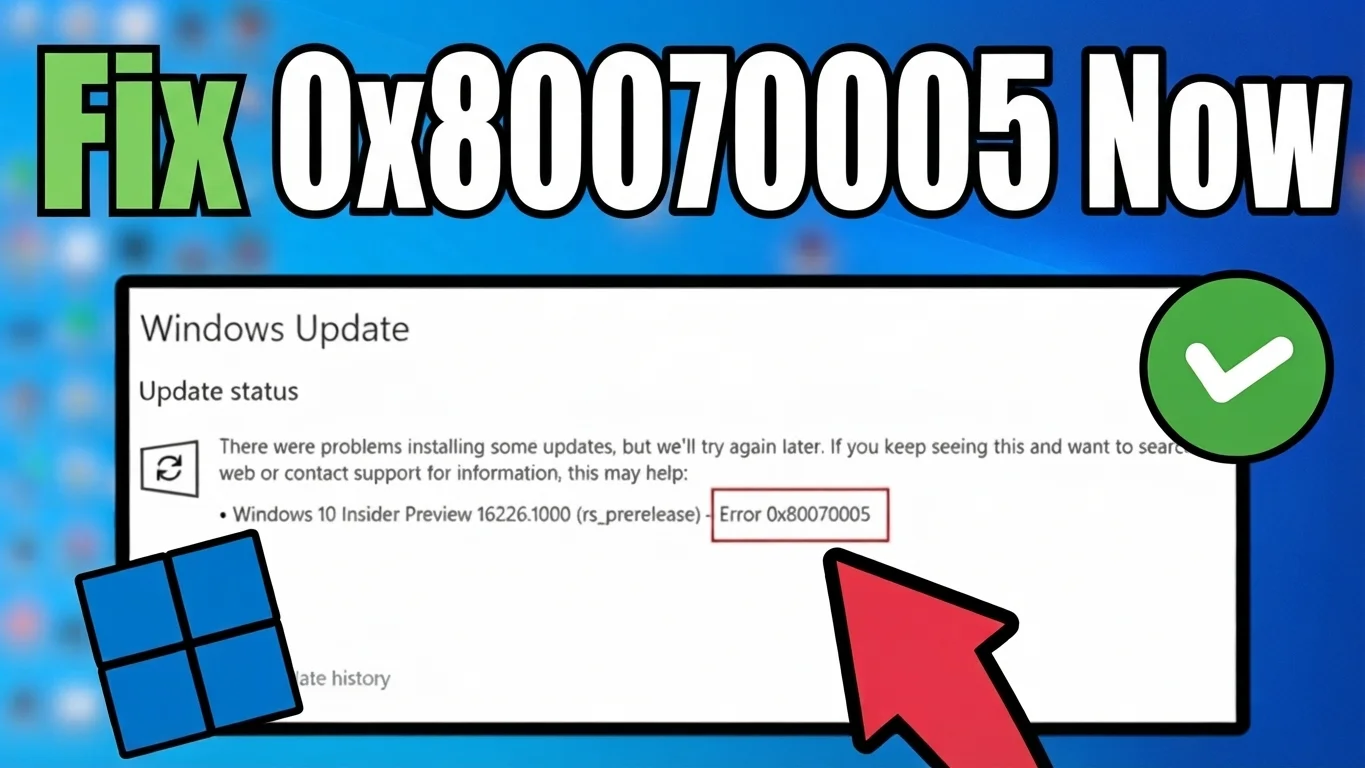
Fix Error 0x80070005 on Windows 11: Access Denied
If Windows Update just stopped with error code 0x80070005, here’s the quickest way through it. Sign in to an administrator account, then open Settings, go to System, click Troubleshoot, then Other troubleshooters, and run the one labeled Windows Update. Let it finish and try the update again.
If that doesn’t clear it, pause your antivirus for a few minutes and retry. Still stuck? Open Command Prompt as an administrator and reset the update components, then run a DISM repair and an SFC scan. Every one of those steps is laid out below with the exact commands, so keep reading if the quick version didn’t do the trick.
Video Guide:
Why Windows 11 Shows Error 0x80070005
This code translates to “access denied.” In plain terms, Windows tried to write to a file, folder, or registry key it needed for the update, and something blocked it.
According to Microsoft’s own documentation, the usual causes are a permissions problem on the WinSxS or SoftwareDistribution folders, incorrect permissions on a specific registry key tied to servicing, or a third-party antivirus tool that locked files the update process needed to touch. Sometimes a Group Policy setting or a standard (non-admin) user account is the real culprit, since neither one has the rights to make changes to protected system folders.
None of these causes point to a damaged PC. They point to something with limited access trying to do a job that needs full access. That’s good news, because it means the fix is almost always about restoring the right permissions, not repairing broken hardware.
How to Fix Windows 11 Update Error 0x80070005
Work through these in order. Most people never need to go past step three.
Step 1: Confirm You’re Using an Administrator Account
A standard user account often can’t install updates on its own, and that alone can trigger this 0x80070005 error.
- Press Windows key + I to open Settings.
- Click Accounts, then Your info.
- Look under your name. It should say Administrator.
If it doesn’t, you’ll need to switch to an account that has admin rights, or ask whoever manages the PC to grant you those rights.
Step 2: Run the Windows Update Troubleshooter
This built-in tool catches a surprising number of update problems on its own, including permission issues.
- Press Windows key + I to open Settings.
- Click System, then scroll down and select Troubleshoot.
- Click Other troubleshooters.
- Find Windows Update in the list and click Run.
- Let it scan and apply any fixes it finds.
Restart your PC once it’s done and try the update again.
Step 3: Temporarily Pause Your Antivirus or Firewall
Third-party security software is one of the most common reasons Windows can’t write update files where it needs to. This isn’t a flaw in your antivirus. It’s just doing its job a little too aggressively.
- Open your antivirus program from the Start menu.
- Look for a setting to pause or disable real-time protection, usually found under Settings, Tools, or Protection.
- Choose a short window, like 10 or 15 minutes.
- Try running Windows Update again.
- Turn your antivirus back on right away once you’re done testing, whether the update worked or not.
If the update goes through with protection paused, you’ve found your cause. You can then add an exclusion for Windows Update in your antivirus settings instead of leaving protection off long term.
Step 4: Reset the Windows Update Components
This clears out any corrupted cache files that might be causing the access issue. It sounds technical, but it’s really just a handful of commands typed one after another.
- Click Start, type cmd, then right-click Command Prompt and choose Run as administrator.
- Type each of the following commands, pressing Enter after each one:
net stop wuauserv
net stop bits
net stop cryptSvc
ren %windir%\SoftwareDistribution SoftwareDistribution.old
ren %windir%\System32\catroot2 catroot2.old
net start cryptSvc
net start bits
net start wuauserv- Close Command Prompt, restart your PC, and check for updates again.
This resets the folders Windows uses to store update files, without deleting anything you actually need. Windows rebuilds those folders automatically the next time it checks for updates.
Step 5: Repair System Files With DISM and SFC
If the error 0x80070005 is still showing up, there may be some damage to the Windows component store itself. These two tools fix that.
- Open Command Prompt as administrator again, the same way as step 4.
- Run this command first, and give it time. It can take 10 to 20 minutes depending on your connection:
DISM /Online /Cleanup-Image /RestoreHealth- Once that finishes, run this command:
sfc /scannow- Restart your PC and try the update one more time.
Step 6: Reset Permissions on the Update Folders
This is the deepest fix, and it directly addresses the permission problem Microsoft’s own troubleshooting documentation points to as the root cause. Only move on to this step if everything above hasn’t worked.
- Open Command Prompt as administrator.
- Run these two commands to reset the default permissions:
icacls "%windir%\WinSxS" /reset /t /c /q
icacls "%windir%\SoftwareDistribution" /reset /t /c /q- Restart your PC and try the update.
- If it still fails, run one more command to make sure the TrustedInstaller service properly owns the WinSxS folder, since that account is what Windows Update relies on for these permissions:
icacls "%windir%\WinSxS" /setowner "NT SERVICE\TrustedInstaller" /t /c /q- Restart once more and try the update again.
By this point, the vast majority of access denied errors during Windows Update are resolved. If yours somehow isn’t, it’s worth checking whether a workplace Group Policy is restricting access, especially on a managed or company-issued PC. In that case, your IT department will need to adjust the policy on their end.
Quick Recap
For most people, the 0x80070005 error clears up in one of the first three steps. Start by confirming you’re on an admin account, run the Windows Update troubleshooter, and briefly pause your antivirus to test. If the problem sticks around, reset the update components with the commands in step 4, then move on to DISM and SFC. Save the permission reset in step 6 for last, since it’s the most involved fix but also the one Microsoft points to directly for this exact access denied error.
