
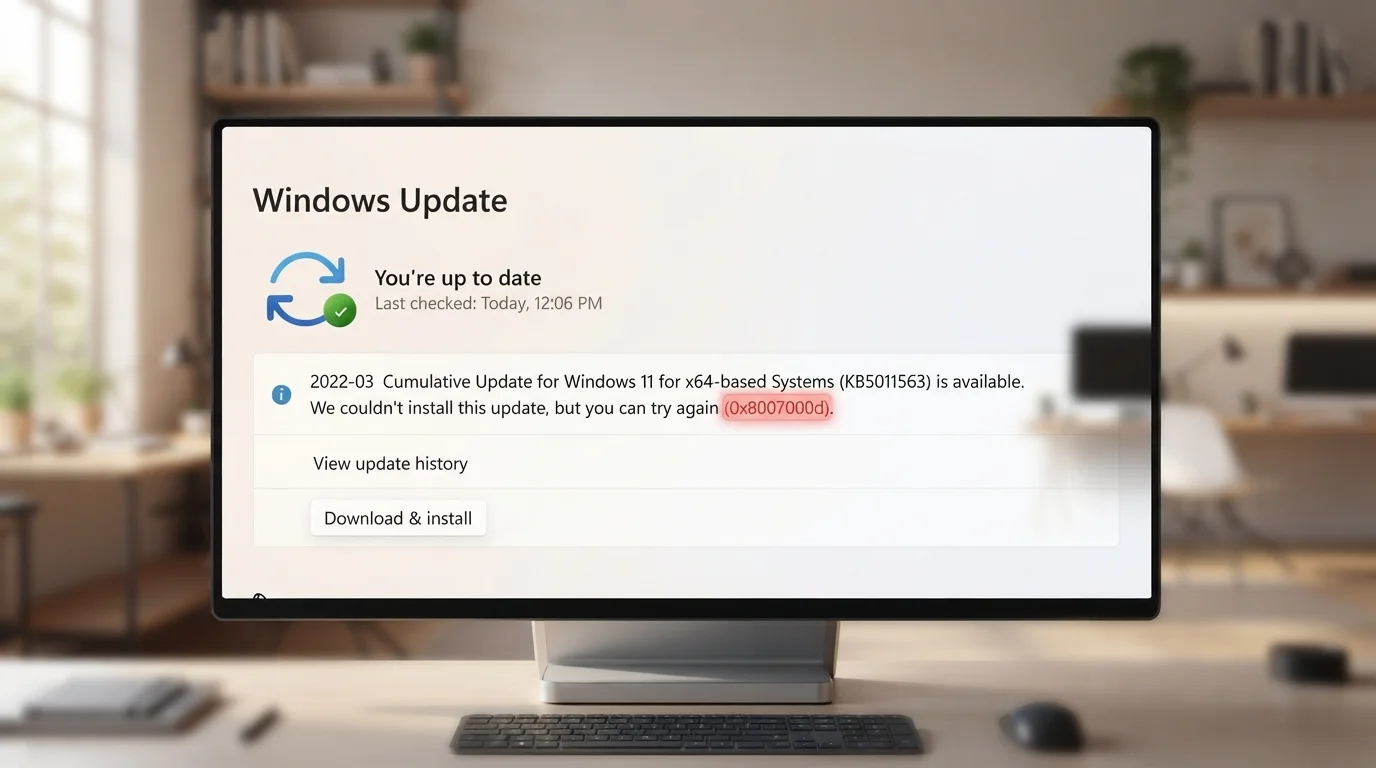
Fix Windows 11 Error 0x8007000D: Full Guide
If Windows Update just stopped with the message “some update files are missing or have problems” and the code 0x8007000D, here is the fastest fix. Open Command Prompt as an administrator and run these two commands one after another:
DISM /Online /Cleanup-Image /RestoreHealth
sfc /scannow
Let each one finish completely, restart your PC, then go to Settings > Windows Update and check for updates again. This fixes the problem for most people because it repairs the two things Windows Update actually reads from: the component store and your protected system files. If that does not clear it, keep reading. The steps below cover every other cause, in the order that tends to work.
Why does error 0x8007000D happen
This error shows up when Windows Update runs into data it cannot use, usually because a system file got damaged, the update cache has gone stale, or a leftover file from a previous update is blocking the new one. It is not tied to one specific update. People run into it during monthly cumulative updates, during the jump to a new feature update like 24H2, and even during a fresh Windows 11 install.
A recent forced shutdown, a disk error, or an outdated driver, especially graphics drivers, can all set the stage for it too.
How to fix Windows update error 0x8007000D
1. Restart and try the update again
This sounds too simple to matter, but it clears out a surprising number of stuck update processes. Save your work, restart your computer fully, then open Settings > Windows Update and select Check for updates. If the same code comes back, move to the next step.
2. Run the Windows Update troubleshooter
This is Microsoft’s own recommended first move and it catches a lot of the common causes automatically.
- Press Windows key + I to open Settings.
- Go to System > Troubleshoot > Other troubleshooters.
- Find Windows Update in the list and select Run.
- Let it scan and apply any fix it finds, then restart your PC and try the update again.
3. Clear the Windows Update cache
A corrupted download in the update cache is one of the most common triggers for this specific code. Clearing it forces Windows to grab clean copies of the update files.
- Press Windows key + S, type cmd, then right click Command Prompt and choose Run as administrator.
- Run each of these lines separately, pressing Enter after each one:
net stop wuauserv
net stop bits
net stop cryptsvc
net stop msiserver- Once all four services have stopped, open File Explorer and go to
C:\Windows\SoftwareDistribution. Delete everything inside that folder. - Go to
C:\Windows\System32\catroot2and delete the contents there as well. - Back in the Command Prompt, restart the services you stopped earlier:
net start wuauserv
net start bits
net start cryptsvc
net start msiserver- Restart your computer and try the update once more.
4. Repair system files with DISM and SFC
This is the step that resolves the error for the largest number of people, because 0x8007000D is frequently a sign that the Windows component store itself is damaged, not just the update package.
- Open Command Prompt as an administrator, the same way as in step 3.
- Type this command and press Enter. It reaches out to Windows Update servers to pull down replacement files, so it needs an active internet connection:
DISM /Online /Cleanup-Image /RestoreHealth- Wait for it to reach 100 percent. This can take a while, sometimes past 20 minutes, so let it run even if the progress bar seems to freeze for a bit.
- Once it finishes, run the System File Checker:
sfc /scannow- Restart your PC and check for updates again.
5. Check for driver conflicts
Outdated graphics or network drivers have been tied to this error on a number of systems, particularly with NVIDIA graphics cards.
- Right click the Start button and choose Device Manager.
- Expand Display adapters and Network adapters.
- Right click each device and choose Update driver, then select Search automatically for drivers.
- If a driver was installed recently and the problem started around the same time, right click that device instead, choose Uninstall device, and restart your PC so Windows reinstalls a fresh version.
6. Check your free disk space
Feature updates in particular need a decent chunk of free space to stage the install, and running low can trigger data errors during the process. Open File Explorer, click This PC, and check the free space on your main drive. Windows 11 feature updates generally want at least 20 GB free. If you are short, clear out old files or run Disk Cleanup before trying again.
7. Use the Windows 11 Installation Assistant or Update Assistant
If none of the above clears it, and especially if the error keeps happening on a specific feature update like the move to 24H2, downloading the update directly from Microsoft often works around whatever is blocking the normal update path.
- Go to the official Windows 11 download page at microsoft.com.
- Download the Windows 11 Installation Assistant.
- Run it and follow the prompts. It performs an in-place upgrade and keeps your files, apps, and settings.
- Once it finishes and your PC restarts, check Windows Update again for anything still pending.
8. Repair install as a last resort
If you have worked through every step above and error 0x8007000D is still blocking you, a repair install using the Windows 11 ISO will replace the deeper system files without touching your personal data. Download the ISO from Microsoft’s official site, mount it, and run setup.exe, choosing to keep your files and apps when prompted. This is a longer process, but it resolves stubborn cases where the component store is too damaged for DISM to fully patch.
Quick recap
For most people, the fastest way to fix Windows 11 update error 0x8007000D is to run DISM followed by SFC, restart, and try the update again. If that alone does not do it, work through the list in order: restart, run the built-in troubleshooter, clear the SoftwareDistribution and catroot2 folders, check your drivers, confirm you have enough free disk space, and if nothing else works, use the Installation Assistant or a repair install as your final option. Nearly everyone who hits this error gets it resolved somewhere in that first half of the list.
