
Windows 11 Error 0x80073712: Complete Fix Guide
If you’re stuck on Windows 11 error 0x80073712, Windows is telling you it can’t finish an update because something in its system files is damaged. Retrying the update won’t help. You need to repair the underlying files first, and that’s what this guide walks you through, starting with the fastest fix and working down to what to do if nothing else sticks.
What Causes Error 0x80073712
The code itself translates to ERROR_SXS_COMPONENT_STORE_CORRUPT. That’s the actual name behind the 0x80073712 error, and it points to Windows’ component store, the folder at C:\Windows\WinSxS that holds the building blocks Windows uses to assemble every update. When that store gets inconsistent, Windows has nothing clean to build the update from, no matter how many times you click “retry.” inventivehq
A few things tend to cause the damage:
- An update that got interrupted partway through (a bad shutdown, a lost connection)
- Corrupted temporary update files sitting in the SoftwareDistribution folder
- Third-party antivirus or VPN software interfering mid-download
- Disk errors on the drive itself
Good news: none of this means you need to reinstall Windows. Start with the easy stuff.
Step 1: Restart and Retry
Skip the eye-roll. A clean restart clears out stuck processes and half-finished downloads, and it fixes the 0x80073712 error more often than you’d expect. Reboot, then try the update again before doing anything else.
If it fails a second time, move on.
Step 2: Run the Windows Update Troubleshooter
Go to Settings > System > Troubleshoot > Other troubleshooters, find Windows Update, and click Run. It’s built to catch a handful of common update-blocking issues automatically. It won’t fix component store corruption on its own, but it clears out other junk that might be compounding the problem, so it’s worth the 30 seconds.
Step 3: Run DISM, Then SFC (This Is the Real Fix)
This is the step that actually addresses “corrupt system files,” and it’s the one most guides bury too far down the page.
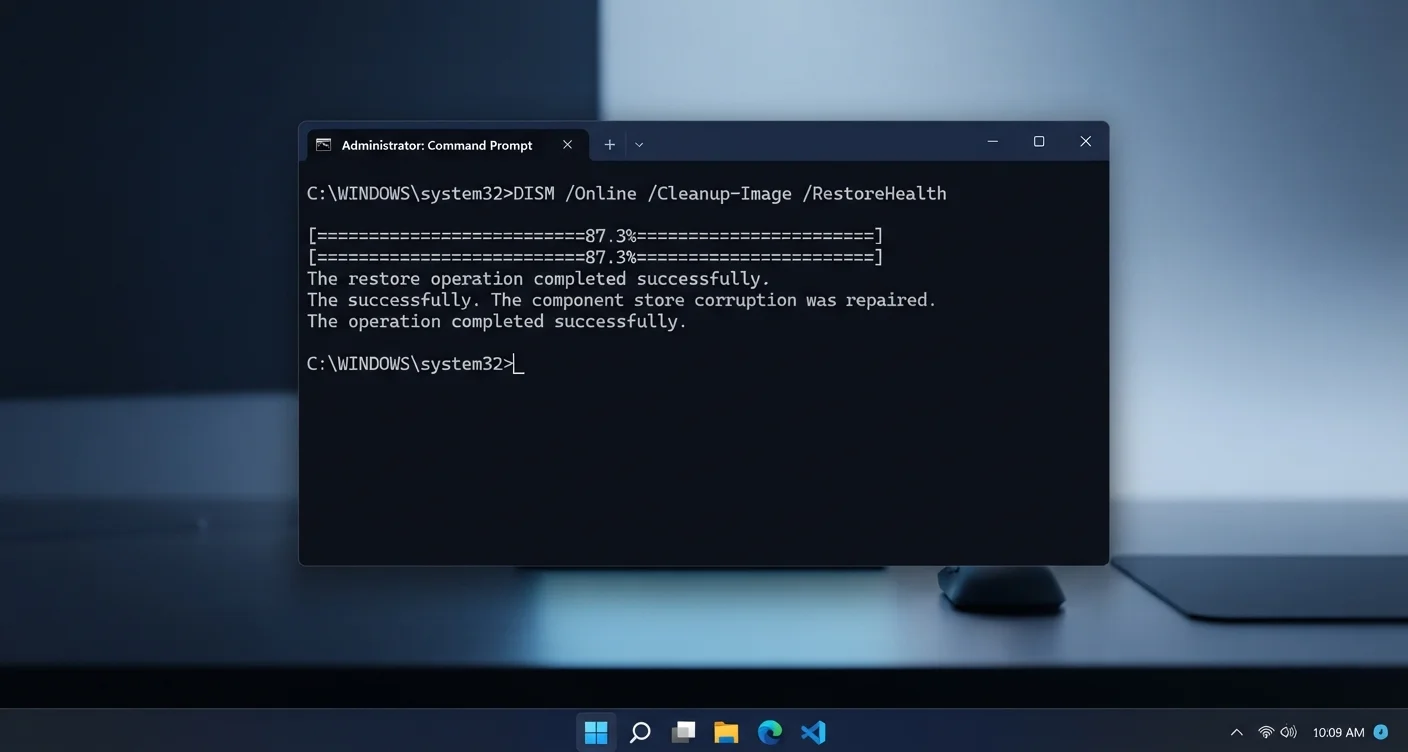
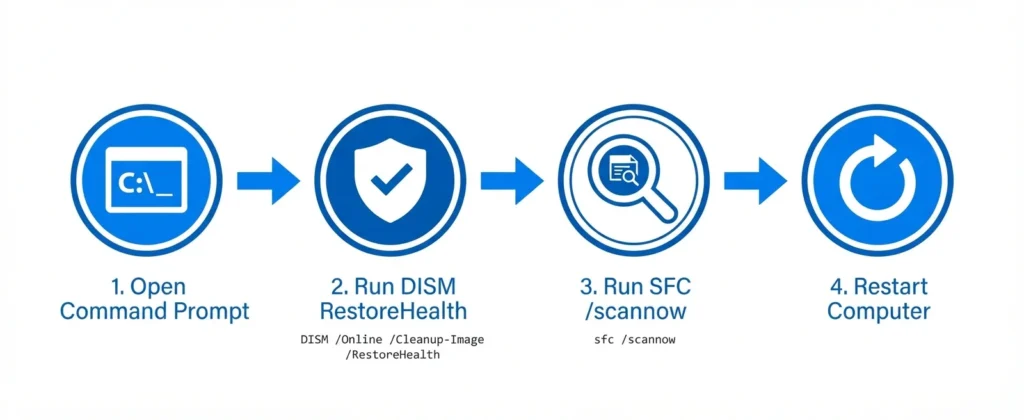
Microsoft’s own repair process is to open Command Prompt as administrator, then run DISM.exe /Online /Cleanup-image /Restorehealth, followed by sfc /scannow once that finishes. The order matters here. DISM repairs the component store itself by pulling clean files from Windows Update. SFC then repairs individual system files by copying good versions out of that same store. Run SFC first, and you’re just copying from a source that’s still broken.
Here’s the exact sequence:
- Right-click Start, choose Terminal (Admin) or Command Prompt (Admin)
- Type
DISM /Online /Cleanup-Image /RestoreHealthand press Enter - Wait. This can take 15 to 30 minutes, and it often looks frozen at 20% or 62.3%. It isn’t. Leave it alone.
- Once you see “The operation completed successfully,” type
sfc /scannowand press Enter - Wait for “Verification 100% complete,” then restart your PC
- Try the update again
Honestly, this alone resolves the error for most people. If it doesn’t, keep going.
Step 4: If DISM Can’t Find Source Files
Sometimes DISM comes back with an error like 0x800f081f, meaning it couldn’t download clean replacement files. When that happens, you can point it at a Windows installation ISO instead:
- Download the Windows 11 ISO from Microsoft’s software download page
- Mount it (double-click the file)
- Run
DISM /Online /Cleanup-Image /RestoreHealth /Source:WIM:X:\sources\install.wim:1 /LimitAccess, swapping X for the mounted drive’s letter - Once it finishes, run
sfc /scannowagain
This gives DISM a local, guaranteed-clean source to pull from instead of relying on a download.
Step 5: Reset the Windows Update Components Manually
If the error keeps coming back specifically during updates (not just once), the update cache itself might be the problem, separate from the component store.
- Open Command Prompt as administrator
- Stop the update services:
net stop wuauserv,net stop bits,net stop cryptsvc - Rename the update folders:
ren C:\Windows\SoftwareDistribution SoftwareDistribution.oldandren C:\Windows\System32\catroot2 catroot2.old - Restart the services:
net start wuauserv,net start bits,net start cryptsvc - Restart your PC and try updating again
Windows rebuilds both folders automatically, so there’s no downside to renaming them.
Step 6: Rule Out Antivirus Interference
Third-party antivirus and VPN software sometimes block update files mid-download without any obvious warning. Temporarily disable yours (Windows Security’s built-in protection stays active), then attempt the update once more. If it goes through, that’s your answer.
Step 7: Try an In-Place Repair Upgrade
If you’ve worked through the steps above and 0x80073712 is still showing up, an in-place upgrade is the next move before considering anything more drastic. Download the Windows 11 Installation Assistant from Microsoft’s site and run it. It reinstalls Windows on top of your current setup, repairing damaged system files while keeping your personal files, apps, and settings intact. It takes longer than the command-line fixes (usually 30 to 60 minutes), but it’s far less disruptive than a clean install.
Mistakes That Make This Worse
A few things worth avoiding while you troubleshoot:
- Running SFC before DISM. It just copies from a component store you already know is damaged.
- Interrupting DISM because it “looks stuck.” Long pauses at specific percentages are normal, not a freeze.
- Skipping the restart between steps. Some fixes don’t take effect until Windows reboots.
- Ignoring disk health. A failing drive can cause the exact same symptoms as file corruption, so if errors keep recurring after a clean repair, it’s worth running
chkdsk /ftoo.
Conclusion
Error 0x80073712 looks alarming, but it almost always comes down to a damaged component store, and that’s fixable without wiping your PC. Work through the steps in order: restart, run the troubleshooter, then DISM followed by SFC. That combination clears it up for the vast majority of cases. If it doesn’t, resetting the update cache or running an in-place repair upgrade will finish the job. A full reinstall should be your last option, not your first.
