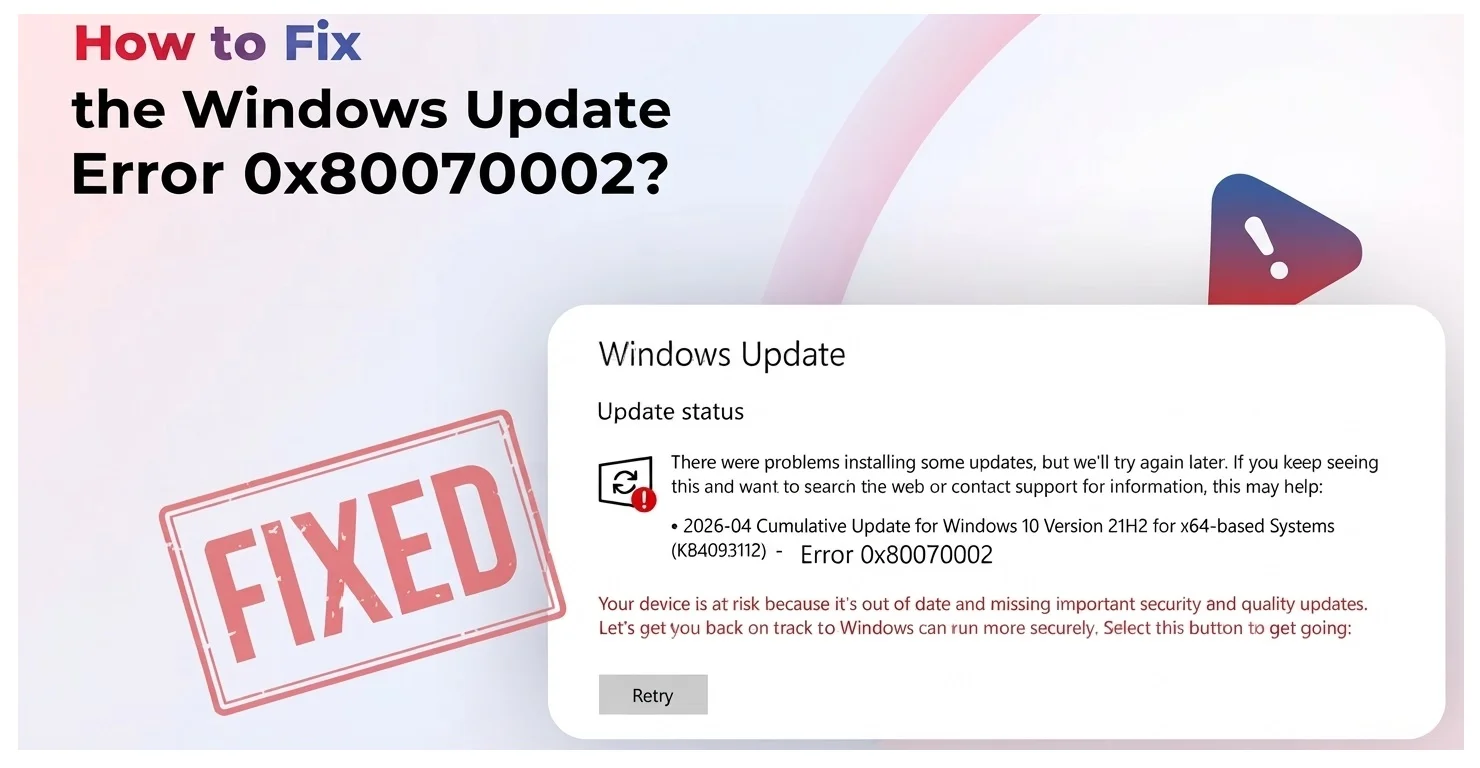
Fix 0x80070002 Windows Update Error Now With Video Guide
If you are staring at error 0x80070002 on Windows 11, here is the quickest path to a fix. Open Command Prompt as an administrator, stop the update related services, rename the folder where Windows stores update files, restart those services, then try the update again. If the error persists, running two built in repair tools called DISM and SFC clears up the rest. Full details for every step are below, along with why this keeps happening in the first place.
What Does Error 0x80070002 Actually Mean
Underneath the confusing string of numbers, this error is simpler than it looks. It translates to a plain “file not found” message. Windows Update went looking for a file it needed to finish installing something, and that file was missing, damaged, or unreachable.
This usually happens for one of three reasons. A file downloaded incorrectly and got corrupted along the way. Your system clock is out of sync, which throws off the security checks Windows runs before trusting an update. Or leftover files from a previous update attempt are cluttering the update cache and confusing the whole process.
Whatever the specific cause, the fix path below handles all three.
Step 1: Check Your Date and Time First
This step gets skipped constantly, yet it solves the problem outright for a surprising number of people. Windows checks your system clock against secure time servers before accepting an update. If your clock has drifted, even slightly, that check can fail silently and produce this exact error.
Here’s how to fix it.
- Right click the clock in the bottom right corner of your taskbar
- Select Adjust date and time
- Turn on both Set time automatically and Set time zone automatically
- Click Sync now to force an immediate refresh
Restart your computer and try the update again before moving to the next step.
Step 2: Run the Windows Update Troubleshooter
Microsoft built this tool specifically to catch common update failures, and it’s worth running before anything more hands on.
- Open Settings and go to System
- Click Troubleshoot, then Other troubleshooters
- Find Windows Update in the list and click Run
- Let the tool scan your system and apply any fixes it finds automatically
Restart your PC once it finishes and check for updates again. This alone resolves the issue often enough that it’s always worth trying first.
Step 3: Reset the Update Components
This is the step that fixes the error for most people who make it past steps one and two. Windows stores downloaded update files inside a folder, and if something in that folder gets corrupted, every future update attempt fails in the same way until it’s cleared out.
Rather than deleting these files outright, the safer approach is renaming the folders. This gives Windows a clean slate to work with while keeping a backup copy in case anything needs to be recovered later.
- Search for Command Prompt, right click it, and choose Run as administrator
- Type each command below one at a time, pressing Enter after every line and letting each finish before typing the next
net stop bits
net stop wuauserv
ren %systemroot%\softwaredistribution softwaredistribution.bak
ren %systemroot%\system32\catroot2 catroot2.bak
net start bits
net start wuauserv- Restart your computer
- Open Settings, go to Windows Update, and select Check for updates or Retry
Windows automatically builds a fresh version of these folders the next time it downloads an update, so nothing important gets lost by renaming them.
Step 4: Repair System Files With DISM and SFC
If the error is still hanging around after resetting the update components, there’s a good chance some underlying system files have gotten damaged. Two tools built into Windows handle this well when run back to back.
- Open Command Prompt as an administrator again
- Run this command first. It can take fifteen minutes or more and may look stuck partway through. It usually isn’t
DISM /Online /Cleanup-Image /RestoreHealth- Once that finishes completely, run this next command
sfc /scannow- Restart your computer once both commands finish, then try the update one more time
Between resetting the update cache and repairing files this way, the vast majority of 0x80070002 errors clear up by this point.
Step 5: Temporarily Disable Third Party Antivirus
Security software from outside vendors occasionally interferes with the update process without any obvious warning. If the error is still showing up, try temporarily removing any non Microsoft antivirus program through Control Panel, then Programs, then Programs and Features. Restart and attempt the update again. Reinstalling your antivirus afterward is perfectly fine once the update succeeds.
Step 6: Try an In Place Upgrade for Feature Update Failures
Sometimes this error only shows up during a specific feature update, like 24H2 or 25H2, while regular monthly updates install without any trouble. If that matches your situation and nothing above has worked, an in place upgrade is the most reliable next move.
- Download the Windows 11 ISO directly from Microsoft’s official download page
- Right click the ISO file and select Mount
- Open the mounted drive and run setup.exe
- When prompted, choose Keep personal files and apps
- Follow the remaining on screen instructions
This refreshes your Windows installation and rebuilds the update components from scratch, all while leaving your files and installed programs exactly where they are.
Quick Recap
If you want the shortest realistic path through this fix, follow this order.
- Sync your system clock
- Run the Windows Update troubleshooter
- Reset the update components using the rename method above
- Run DISM followed by SFC
- Temporarily disable third party antivirus if needed
- Perform an in place upgrade if the error is tied to a specific feature update
Most people find their answer somewhere in steps three and four. Update errors are frustrating mainly because they happen in the background where you can’t see what’s actually going wrong, but 0x80070002 is genuinely one of the more straightforward ones once you know what it’s actually telling you.
